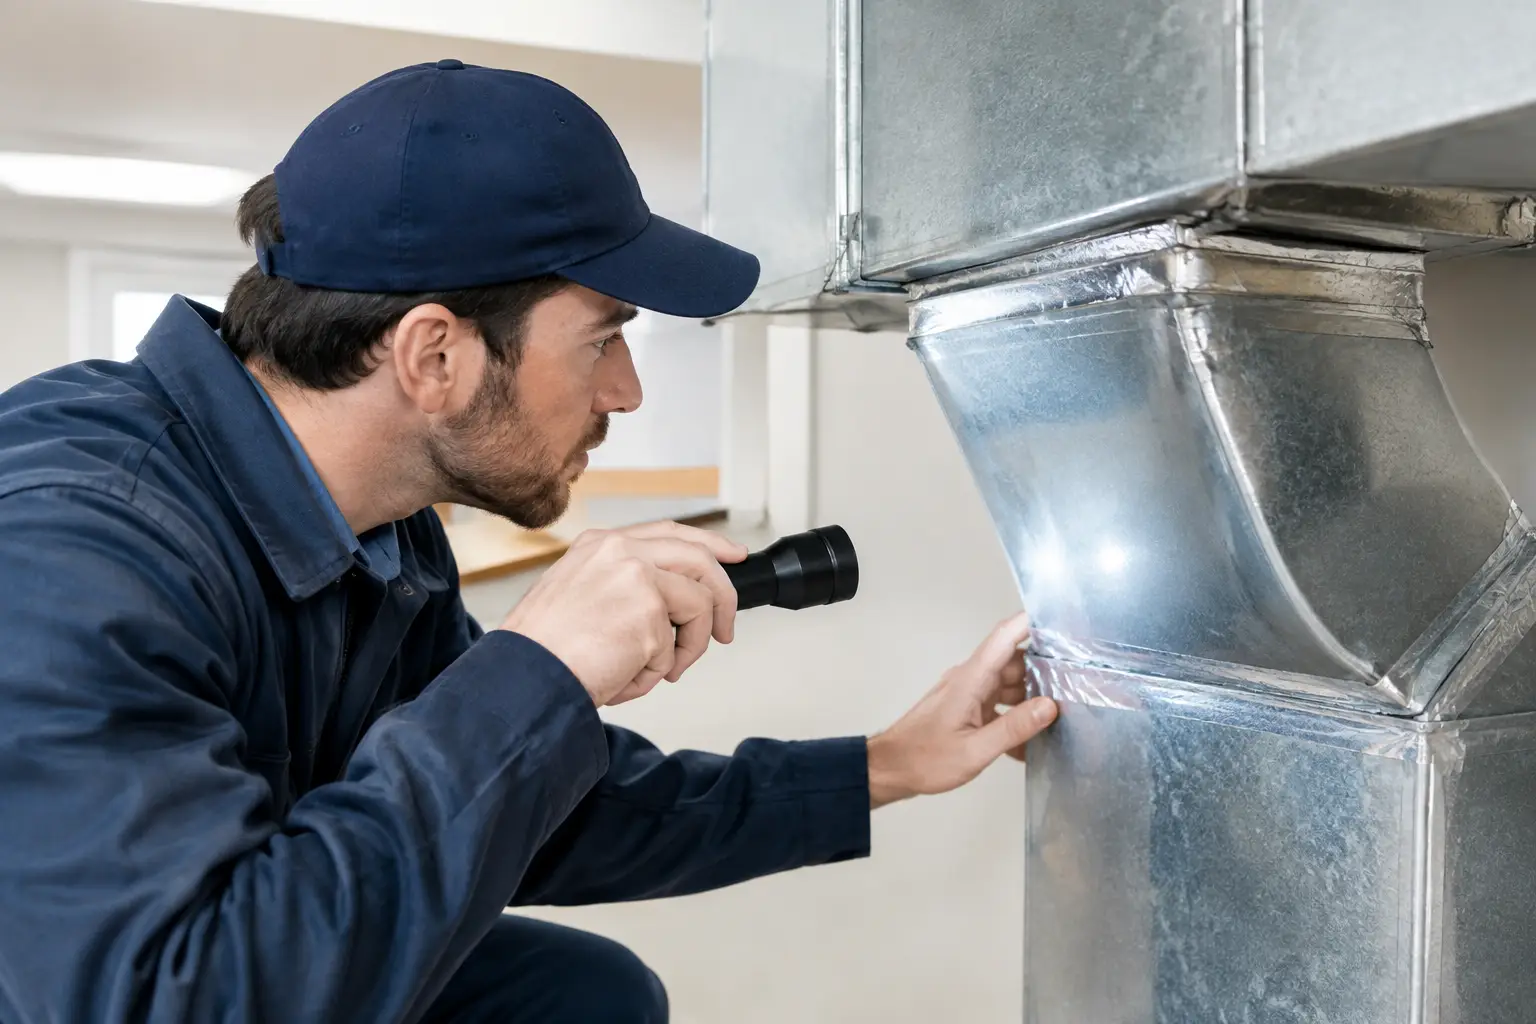
A room that never cools properly can make you blame the air conditioner. But if the system runs hard, utility costs climb, and one bedroom still feels stale or warm, the problem may be hidden above the ceiling or behind a wall. Knowing how to find duct leaks helps you separate a ductwork problem from a failing AC unit before expensive equipment is pushed beyond what it should have to do.
In Puerto Peñasco, intense heat, wind-driven dust, humidity, pests, and renovation work can all take a toll on duct connections. Leaks do more than waste conditioned air. Return-side leaks can pull dusty, musty, or contaminated air into the system and distribute it through the home.
Signs You May Have a Duct Leak
Duct leaks rarely announce themselves with a visible hole. More often, owners notice changes in comfort and cleanliness. A supply leak lets cooled air escape before it reaches a room. A return leak draws unconditioned air and contaminants into the duct system, making the AC work longer while affecting indoor air quality.
Watch for a combination of symptoms rather than relying on one clue. Uneven temperatures between rooms, weak airflow from one or more registers, unusually dusty surfaces, rising electric bills, and an AC system that seems to run constantly are common warning signs. A whistling or rattling sound near a ceiling, soffit, utility closet, or air handler can also point to a loose connection.
Musty, sour, or dirty odors deserve attention as well. The odor itself does not prove a duct leak. It may come from dust buildup, moisture, mold, a drain issue, or pest activity. But a return leak can pull those odors from a hot attic, wall cavity, crawlspace, or other hidden area directly into the system.
If the problem started after a remodel, storm damage, a pest issue, or the purchase of a previously vacant property, do not assume the ducts are clean and connected. Construction debris, crushed flex duct, disconnected runs, and damaged insulation are all findings that can remain hidden until someone inspects the system.
How to Find Duct Leaks With Basic Checks
Homeowners can identify useful clues without opening walls or taking apart the HVAC system. Start when the AC is running and the blower has been on for several minutes. Set the thermostat low enough that the system stays running during your check.
Check Every Register and Return
Walk room to room and compare airflow at each supply register. You do not need a specialized meter for a first check. Hold a light piece of tissue near the register, without letting it get pulled inside. Notice whether the air movement is much weaker in one room than in similar rooms.
Then locate the return grilles, which are usually larger than supply registers. A return should pull air inward with consistent suction. Weak suction may indicate a restriction, a dirty filter, a blower issue, or a return duct problem. Strong airflow in one part of the house and poor airflow elsewhere can indicate a disconnected, crushed, or leaking branch duct.
Keep in mind that closed doors can affect airflow in homes without adequate return-air paths. A room with a closed door may become uncomfortable even when its ductwork is intact. Check again with interior doors open before deciding that a leak is the cause.
Look at Accessible Duct Connections
If you can safely access a mechanical closet, garage, attic entry, or exposed duct area, inspect what you can see. Look for separated joints, sagging flexible duct, torn duct insulation, disconnected boots behind registers, and dark dust streaks around seams. Dust collecting around a joint often means air has been escaping or being pulled in at that point.
Pay close attention to the area around the air handler and the large return duct. These connections carry a lot of air. A gap at the return plenum can bring attic dust, insulation fibers, odors, and humid air into the system every time it runs.
Do not step on ceiling framing, crawl across unsafe attic areas, or disturb damaged insulation to chase a suspected leak. In coastal homes and condos, duct routes are often concealed in soffits, ceiling cavities, and difficult-to-reach spaces. A visual check is helpful, but it cannot verify the condition of ductwork you cannot see.
Use Your Hands Carefully Around Suspected Gaps
Near accessible supply connections, you may feel cool air escaping while the system runs. Near return connections, you may feel air being pulled inward. This can help confirm an obvious loose joint.
Avoid using candles, incense, lighters, or smoke to test ducts. Open flames do not belong near HVAC equipment, insulation, dust, or possible gas appliances. Smoke can also leave residue in the system and create a misleading odor complaint later.
A clean tissue test can be used around an accessible joint, but it is not precise. Strong blower movement, tight spaces, and nearby registers can make the result hard to interpret. Treat it as a clue, not proof.
Do Not Confuse Duct Leaks With These Problems
A leak is only one possible reason for poor comfort. A loaded air filter can limit airflow throughout the home. A dirty evaporator coil, blower problem, refrigerant issue, failing capacitor, blocked condensate drain, or undersized system can create similar complaints.
There is also a difference between a duct leak and a dirty duct. Dust on a register does not automatically mean air is escaping. It may mean the system needs cleaning, the filter is overdue, or dust has accumulated during vacancy or remodeling. On the other hand, visible debris inside a duct can make a leak more concerning because leaking return ducts can keep feeding contaminants into the system.
This is why guessing based on one warm room often wastes time. The right question is not simply, “Do I have a duct leak?” It is, “What is happening inside this HVAC system, and what evidence supports the repair?”
When a Camera Inspection Is the Better Answer
Most important duct defects are not visible from a register. A camera inspection can show whether a flex duct has come apart above a ceiling, whether construction debris is restricting airflow, whether pest contamination is present, or whether moisture and dust buildup are contributing to an odor issue.
Visual documentation matters especially for owners who are away from their Puerto Peñasco property much of the year. Photos and video turn a vague report of “bad ducts” into evidence you can review. They also help a repair contractor understand where the damage is located when the duct cannot be directly reached.
A professional inspection is a good next step when you notice persistent odors, evidence of black mold, pest droppings, repeated dust accumulation, major differences in room temperatures, or a sudden jump in operating cost. It is also wise after remodeling or before moving into a newly purchased home or condo. A clean-looking register cannot tell you whether the duct run behind it is connected, contaminated, crushed, or leaking.
Clean It 4U Mexico uses camera-based inspection to identify concealed duct conditions before recommending cleaning or repair. If a damaged area cannot be accessed directly, clear location information gives you and the appropriate repair professional a practical path forward.
Seal the Right Leak the Right Way
An accessible minor duct seam may be repairable with HVAC-rated foil tape or mastic sealant. Standard cloth-backed “duct tape” is not a long-term duct repair. It dries out and fails, often leaving the same gap hidden behind insulation.
Do not seal a system blindly, however. A disconnected duct, damaged return box, wet insulation, mold contamination, or pest-damaged run may require more than tape. Sealing over contaminated material does not remove it. Sealing a problem without identifying its source can trap moisture, leave odors behind, or delay a needed repair.
After repairs, check that airflow has improved and that the system is cycling normally. Replace filters on schedule, keep registers open and unobstructed, and have unusual odors or visible dust investigated before they become part of the air your family breathes. If your home still feels uneven or dirty after the obvious checks, schedule an inspection that can show what is actually happening inside the ducts.